DIY Lingerie: How to Hand-Dye Your Stockings

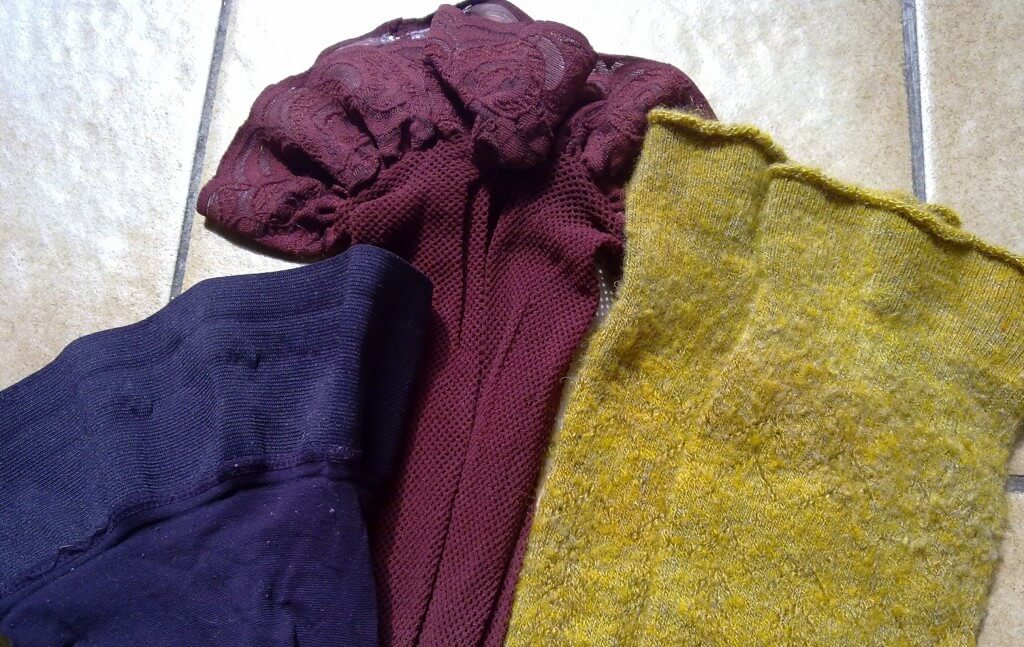
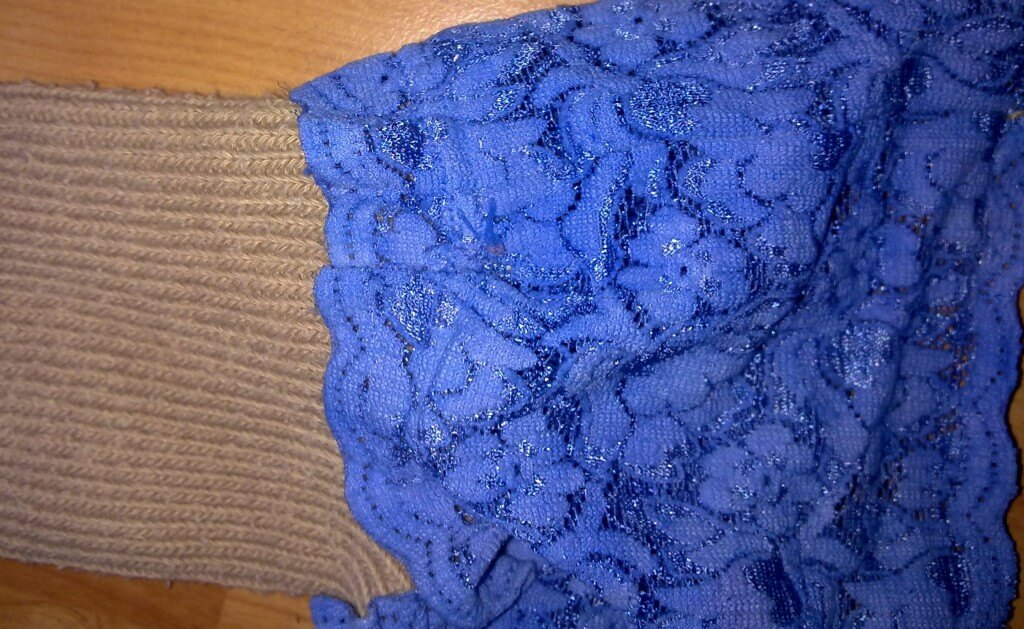
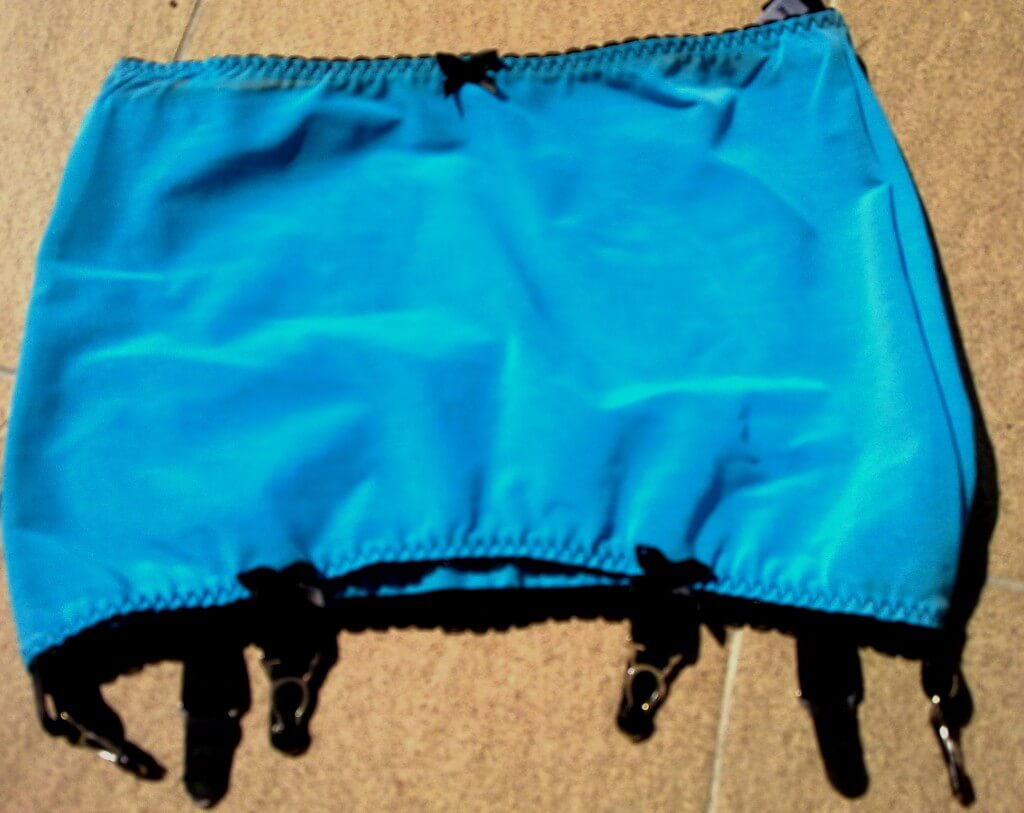
Lilac on woolly stockings from Asos (merino wool), Lilac on beige hold- ups, Lilac on 27/4 Charnos stockings, Gold Ochre on 24/7 Charnos stockings, Sky blue on 24/7 Charnos stockings, Sky Blue on Victoria's Secret white stockings.
Today's guest post is by a TLA reader, Katerina. She's a stocking and lingerie freak and loves everything made of silk, cashmere, and merino wool. One day, she'd like to own a cashmere luxury set of big pants and a bra one day. Unfortunately, no one makes this yet. Katerina spends lots of time dyeing garments, learning to sew, knitting, making waldorf dolls and painting on glass and fabric. Her creations usually involve beads, feathers, Svarowski crystals, and portraits of rock musicians. Katerina also hunts for vintage clothes that will match her vintage-inspired lingerie every chance she gets. She has an Etsy store here, and today's she's talking about how to hand-dye your stockings whatever color you'd like.
I'm a notorious hosiery addict and spent many hours hunting for stockings that would be anything but black, white, or nude. Every time I did find some, they usually laddered after one wear, so I'd say it was a waste of time and money. Stockings (and even hold- ups) are especially hard to come by in a variety of colours, and who wants to wear black all the time?
Moreover, not every company actually makes stockings in exciting colours that match your lingerie. I am also a dyeing addict, so I decided I'd try to dye my favourite and affordable stockings and see what happens.
I especially like Charnos 24/7 stockings, because I want stockings that last as I wear them daily. You can also dye wool stockings, silk stockings, and hold- ups.
What you need:
A good dye. I use Jacquard Acid Dye. For info and instructions, click the link.
This is meant for materials like silk, wool, nylon, and feathers. When you dye properly and follow the instructions, you actually get stockings (and other clothes) that won't bleed when wet or be bad for your health.
Other dyes you can buy in your supermarket, all-purpose dyes, are meant for home dyeing, for a variety of materials (like cotton), so they'll always bleed. There'll always be excess dye. You can always use something that sets the dye, a fixative, but that won't withstand higher temperatures (imagine the heat your body produces) and the dye and the substance used to fix the dye could get into your skin, causing irritation or worse (we don't want anything this aggressive in our body). Also, I never got an even result with any all- purpose dye.
Acid dyes need heat and acid in order to set. They also withstand heat and once they are set, they don't bleed and the colours are lightfast. I mean never bleed. Even when washed on hot. If you want to know more about dyeing (in our case dyeing with acid dyes), read Paula Burch's web site.
Now choose the colour you want. The result will depend on what the original stockings look like (with the same dye, you can get a warmer shade or a colder shade, as you can see below).
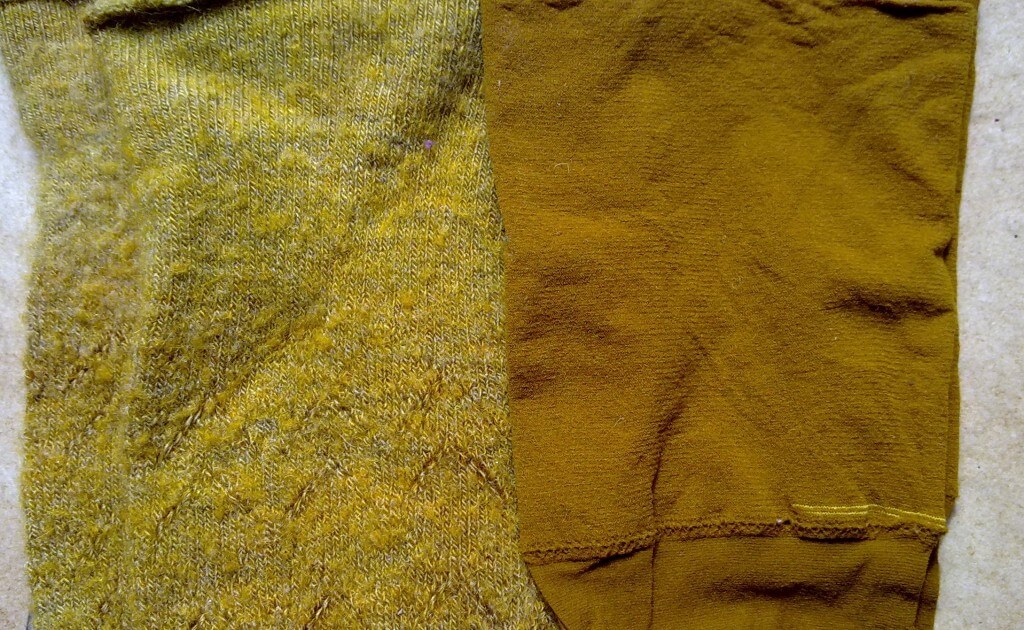
Charnos 24/7 stockings (beige) and grey woolly stockings from Calzedonia (sold as over- knees I think) both dyed with Jacquard´s Gold Ochre.
What you need:
• A pair of dyeable stockings (nylon, silk, angora, cashmere, wool). For information on whether your stockings are dyeable with acid dyes, check Paula Burch.
• A large pot. I'd use one you don't use for cooking.
• Vinegar. I use 1/4 cup per quart of water
• Lots of water.
• Rubber gloves
• Something you'll stir the water with that won't damage your stockings.
If you dye silk, be careful not to boil it! Silk is a very durable material unless it's boiled. Then it loses its qualities, and will be less shiny and strong.
If you dye wool, angora, or cashmere, be careful not to expose it to temperature shock. Heat the water with the stockings in it gradually and then let it cool off gradually. If you bang a pair of wool stockings in a pot full of boiling water, you'll end up with baby- sized stockings.
I'd start with a small amount of dye and old stockings, that way you can see if you're brave enough to dye your more expensive ones.
Instructions:
1. Fill the pot with lukewarm water and add the stockings.
2. Heat gradually. When it's about 30 °C (about 86 °F), take the stockings out and add the dye you've mixed. Don't use the whole jar of dye on a pair of stockings; you don't need alot. I'd say one teaspoon of dye per pair of stockings or even less for a light shade. Add the dye in a plastic container, preferably filtered by means of an old stocking (some colours like magenta can cause small dots on the fabric and we want to prevent that). Also, wear safety glasses and be careful not to inhale the powder as it can be toxic.
3. Stir the dye and then add the stockings. When dyeing wool stockings, don´t let the interval between taking them out of the pot and putting them back be too long, They could shrink --- temperature shock, remember.
4. Keep stirring, be careful not to let all the stockings get tangled all together, if they are twisted, you´ll get a tie- dyed reset. Also, don't use too many stockings at once. The more space they have, the better chance of an even result you get.
5. Keep heating. When the water is close to boiling, add vinegar. This will help the dye set. I use 1/4 cup per quart of water.
6. Let it sit in the solution, while stirring from time to time, for about 20 minutes. (When dyeing wool, remember to let the water cool off before taking it out, even a cold container you'd put it into may cause shrinkage!)
If you didn't use too much dye, there will be almost no leftover dye in the fibres. Put it in a sink or a bucket and rinse in hot water (about 60 °C or 140 °F) several times. Cold water won't do, since the dye can only be set by rinsing the stockings in hot water. Be very careful when rinsing --- I'd advise wearing rubber gloves since stockings are very sensitive.
If rinsing woolly stockings, you need to warm the water you'll rinse in gradually. You can rinse it in hot water, don´t get me wrong, but you have to add hotter and hotter water, not bang it in boiling water and rinse. Also, don't rinse too fast ( I'd avoid a washing machine here) as this can cause shrinkage too.
Let it dry and you're done!
Next time you can try dyeing lingerie.


