Lingerie Construction Basics Part 3: Seams
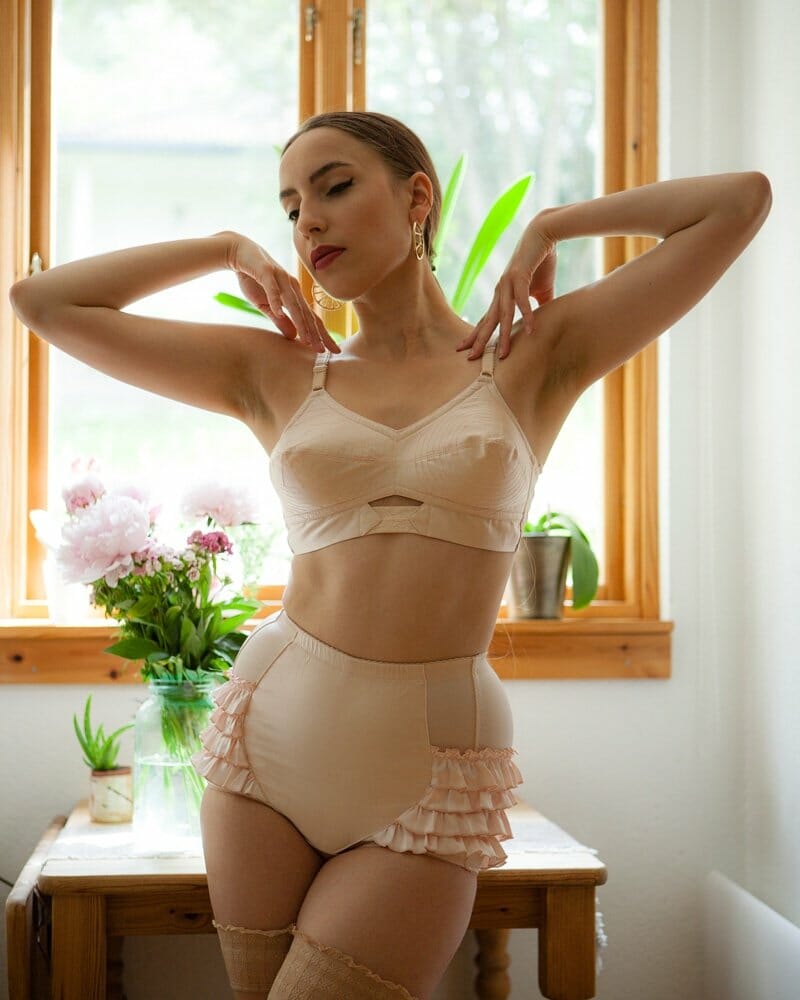
Rigby & Peller 70th Anniversary "Platinum" Silk Bullet Bra and Ruffle Brief Set. Photo by K Laskowska.
The third part of our lingerie construction series covers seams. As a refresher, the first part covered types of stitch, and the second part stitch quality and linings.
Seams are the point at which two pieces of fabric join together. They typically require a 'seam allowance,' or a space where the two panels can be sewn together. Seams can also be glued (or 'bonded') together for an exceptionally flat finish. However, this guide focuses purely on sewn techniques.
Types Of Seams
Overlocked seam
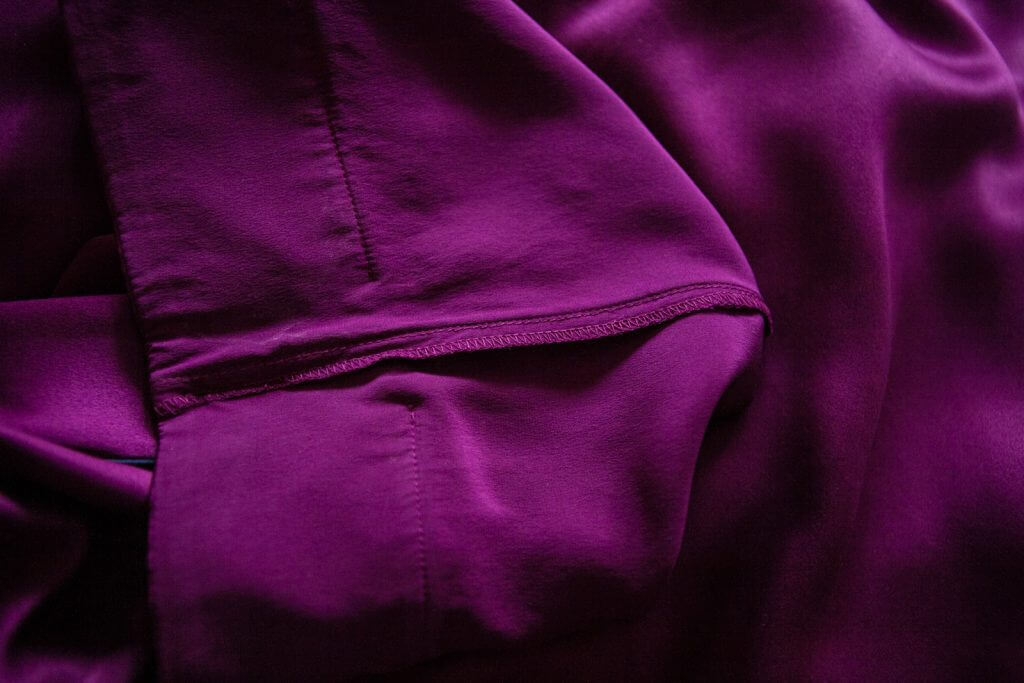
The leg seams on these Olivia Von Halle trousers were finished with an overlock stitch to reduce bulk at the cuffs. Photo by K Laskowska
Overlocked seams are arguably one of the most common type found in lingerie. They are one of the quickest and easiest to construct with the stitch ‘sealing’ the raw edge of the fabric in a single operation. Overlocked seams can also be stretched without risk of breaking the threads. This type of seam also works well when working with multiple layers of fabric as it reduces bulk.
French seam
This type of seam is most commonly found in high end lingerie, as it requires more accuracy and time. There is a minimum of two stitch operations required to create this seam, with additional trimming and pressing to achieve a good finish. French seams enclose the raw edge of the fabric within its own channel. Narrower French seams are a sign of a luxury garment as they are more difficult to successfully execute. Generally speaking, you only find French seams on non-stretch fabrics as there’s a risk of broken stitching when it's applied to stretch fabrics.
Raw seam
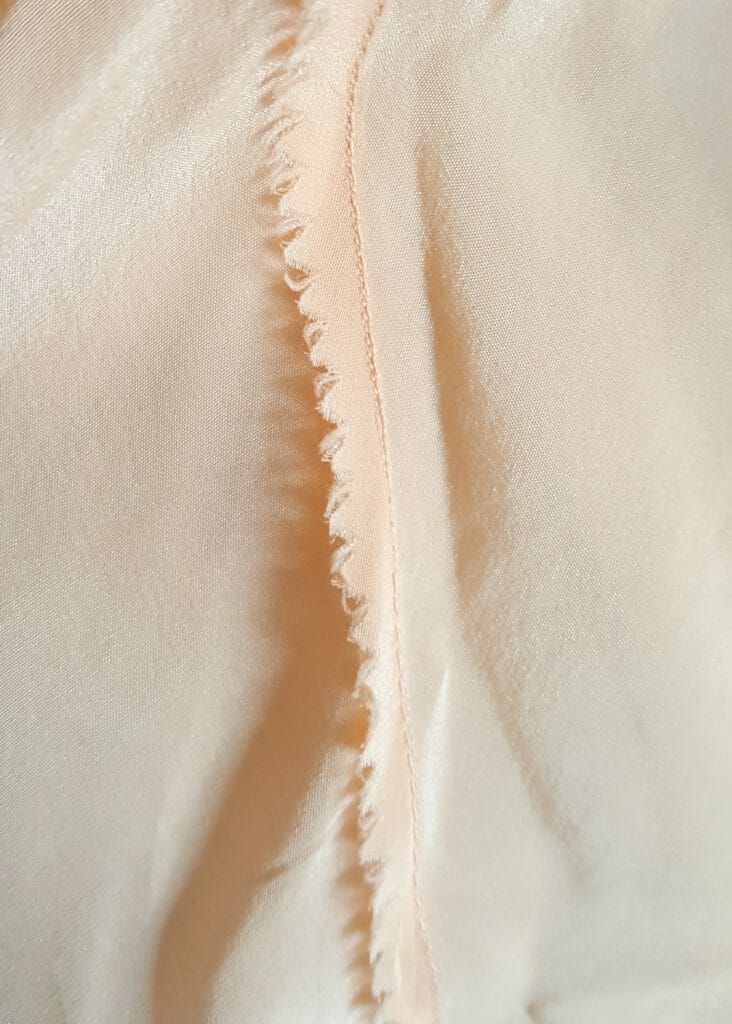
This 1930s teddy is sewn with pinked, raw seams and finely topstitched (folded down and secured with an additional lockstitch, in this instance with a small stitch length). In contemporary manufacturing, it is much quicker to simply overlock this kind of seam. Photo by K Laskowska
This type of seam has no kind of stitch finishing. Fabric is typically joined with a lockstitch and the raw fabric edges left as they are. It is quite rare to find this kind of finish on contemporary lingerie as with many fabrics there is a risk of fraying and the garment coming apart.
Generally speaking, this is not a type of seam you’d expect to find in high quality lingerie, unless it’s for a decorative or stylistic purpose. An exception to this rule is in a lot of high-end or couture vintage lingerie where the raw edges of the fabric are, at the very least, pinked (cut with a zigzag edged scissor, which reduces fabric fraying). Indeed, it could be argued the modern lingerie industry is somewhat obsessed with avoiding raw fabric edges when it is not always entirely necessary.
Taped seam
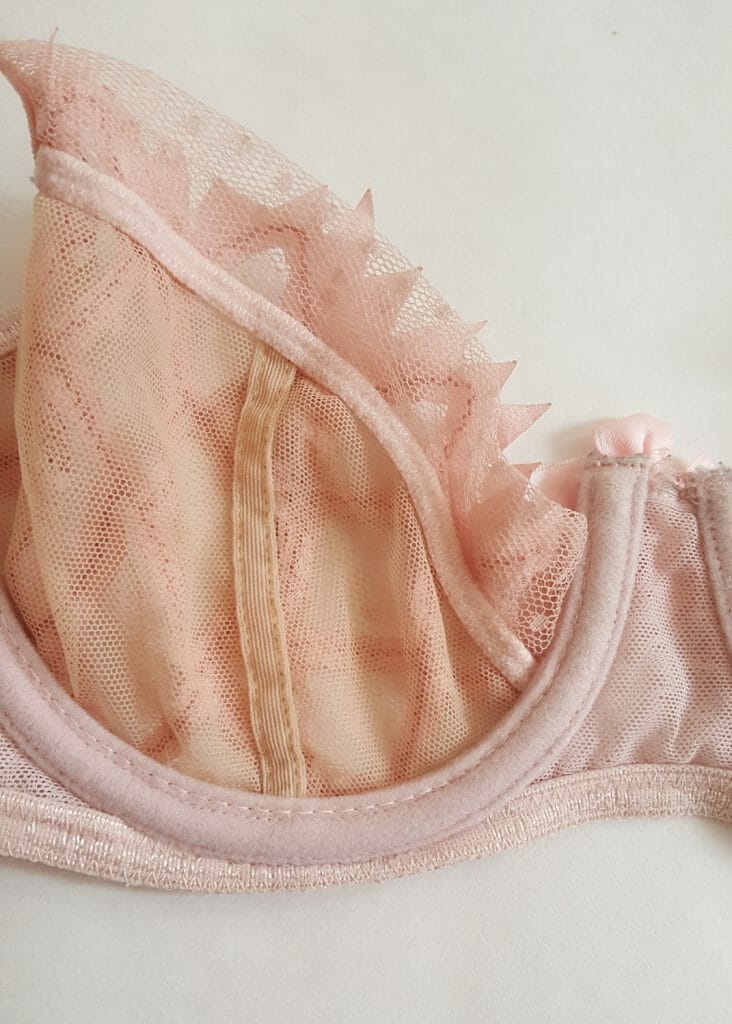
There are three varieties of seam taping on this bra cup. The vertical bust seam is taped with a non-stretch nylon tape whilst the horizontal bust seam has a stretch elastic. An underwire channel is taped over the cradle seam. Photo by K Laskowska
This type of seam is covered by a tape. The seam allowance (the fabric 'space' required to stitch two panels together) can either be pressed open or to one side with the tape applied on top. The type of tape and stitch used to apply it can vary. Elastic tapes will usually be applied with a stitch that can accomodate stretch, such as zigzag, three-point zigzag or cover stitch.
Some tapes form a channel that perform a function, such as underwire and bone casings (these will enclose the bra underwires and bones at bra side seams or basques). Narrower nylon tapes can often be used to cover bra cup seams, to re-enforce the seam, and make the garment more comfortable wear. Decorative tapes such as lace and ribbon can also be used as a design feature. Non-stretch tapes will typically be applied with a lockstitch, either single or twin needle.
Butted seam
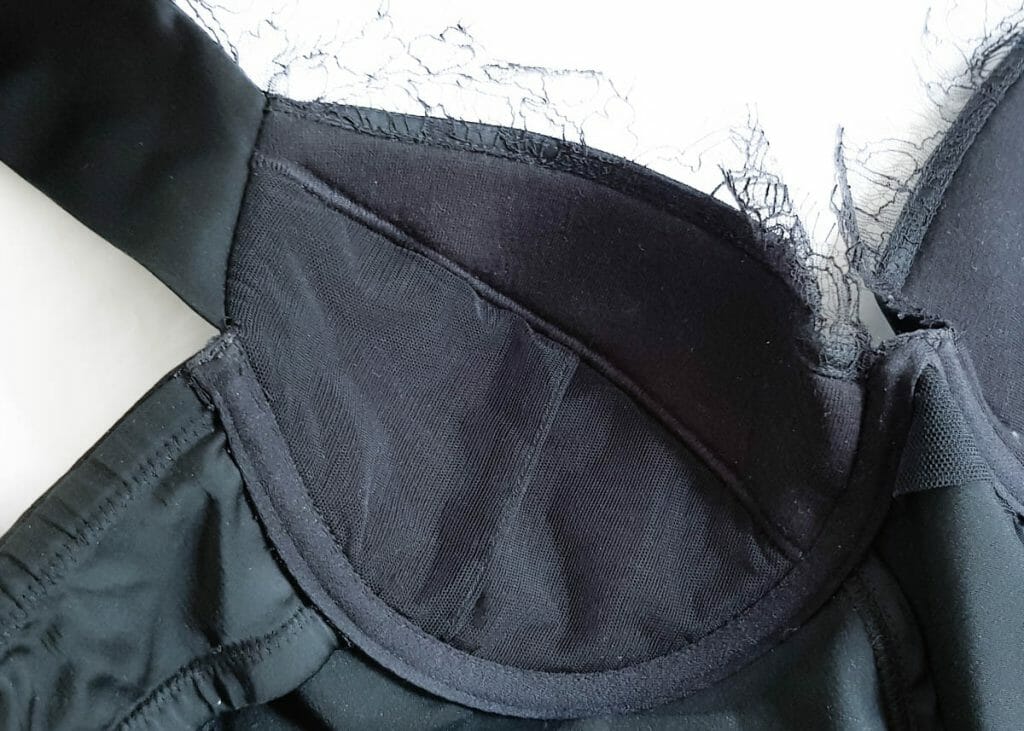
The overbust seam on this foam bra cup has been butted together with a very tight zigzag stitch. Usually this kind of stitch will be taped over or covered by a lining.
Photo by K Laskowska
Butted seams are typically found in very thick fabrics, like bra foam. Rather than stitching along a seam allowance, the garment panels are cut with no seam allowance and are sewn over to join the two panels. Either a zigzag or cover stitch can be used for this operation. This type of seam is generally only found in bra foam cups or heavier weight athletic wear. It gives a very flat seam finish. In bra cups this type of seam will typically be taped over, so it can be difficult to spot.
More to come. In Part 4 of our lingerie construction series, we will examine hems.
