How To Replace Your Bra Straps
Estelle Puleston is a lingerie blogger, designer and retailer who founded Esty Lingerie in 2009 to promote handmade lingerie designers. She’s always sewing lingerie, either from scratch or customizing something she’s bought!
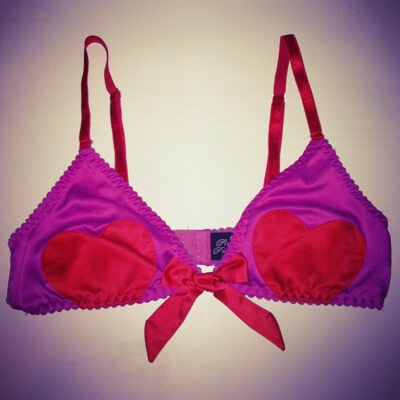
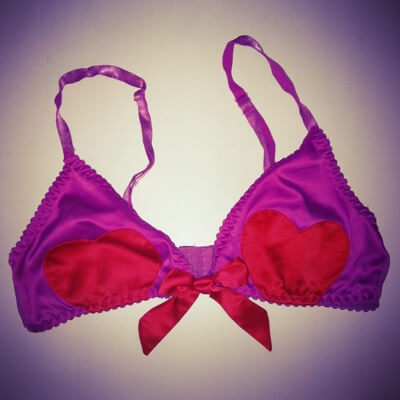
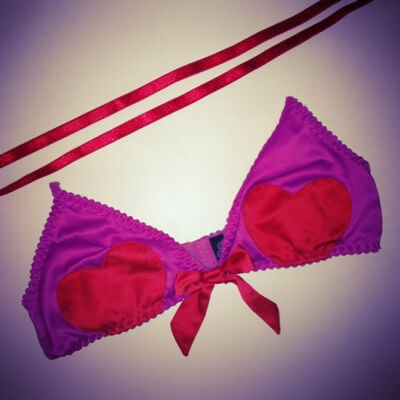
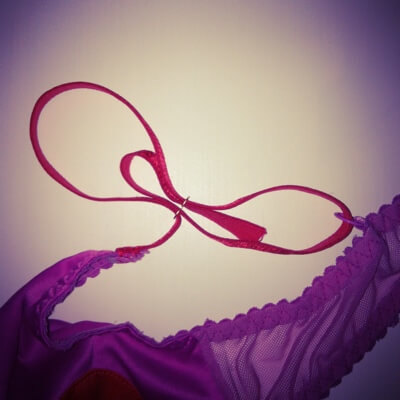
No matter how hard I try to care for my lingerie, occasionally mistakes happen – like staining a light set I washed with a darker one, or in this case, accidentally tumble-drying my Playful Promises Sweetheart bra on the highest setting when it got mixed up with my other washing. Tumble-drying is probably the worst thing you can do to elastic and the bra’s elastic straps didn’t survive – they stay all twisted even when worn!
Even if you haven’t destroyed the current bra straps, you might simply fancy a change of colour or prefer longer/wider straps for comfort. In this post I’m going to show you a step-by-step guide to replacing them.
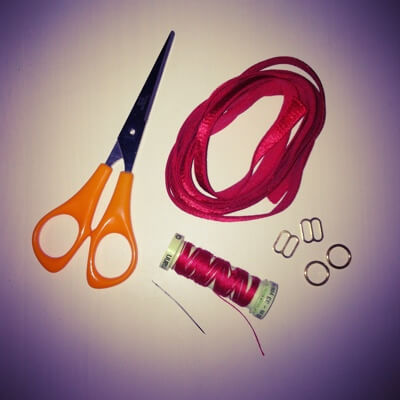
What you’ll need: 1m of elastic, two sliders, two rings (optional – only if you’re replacing the current ones) and a needle, thread, and scissors.
The openings in the sliders should measure exactly the same across as the elastic, or 1mm less. If they’re too small they’ll be tricky to adjust, but even if they’re only 1 or 2mm wider, they won’t ‘grip’ the elastic in place and you’ll probably find your straps work themselves looser throughout the day.
Step 1: First things first, you’ll need to snip off the current straps as neatly as possible. Leave the rings in place at the back, unless you’re planning on replacing those too (if you’re replacing the straps with wider ones, for example, you’ll need bigger rings). Then cut two lengths of elastic for the new straps – 40cm is about right for most people, although you may prefer to measure against the old ones and cut to the same length.
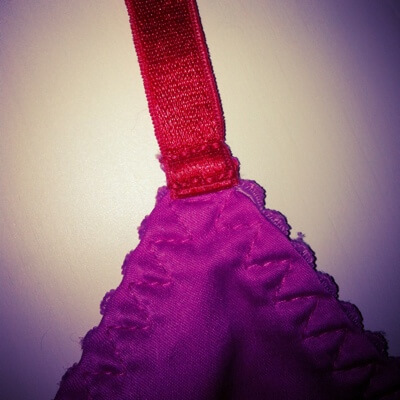
Step 2: Take one length of elastic with the decorative side facing upwards, and fold about ¾cm underneath. This stops any raw edges showing for a neater finish. Then place that folded-over end onto the top of the cup and fix in place with two rows of stitches. If your sewing skills aren’t perfect and you make a wonky stitch or two, you can always cover it up by sewing a decorative bow on top.
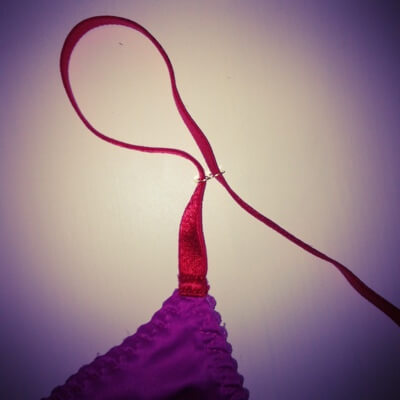
Step 3: Thread the elastic through the slider as shown below, so that if you pull the elastic tight the middle bar of the slider is covered when you’re looking at the decorative/front side of the strap.
Step 4: Feed the elastic through the ring at the back of the bra as shown (going through it away from you rather than towards you). If you’ve decided to replace the rings, you’ll obviously need to do that first – just cut about 2cm of elastic, thread through the ring, fold over and sew in place inside the band.
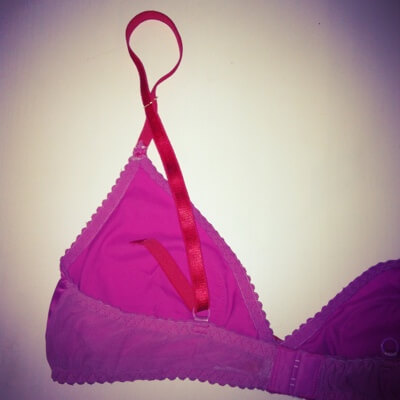
Step 5: Now you need to thread the elastic through both openings in the slider again, inside the original loop.
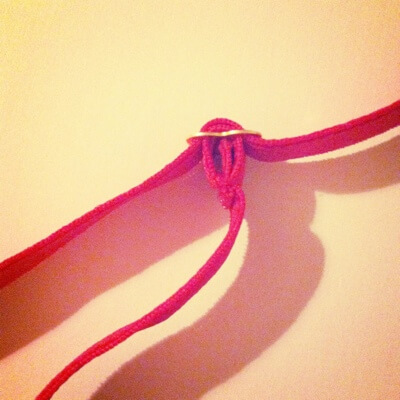
Step 6: Pull the elastic tight, leaving about 2cm only loose. Fold the edge over, double it back on itself as shown above and stitch in place.
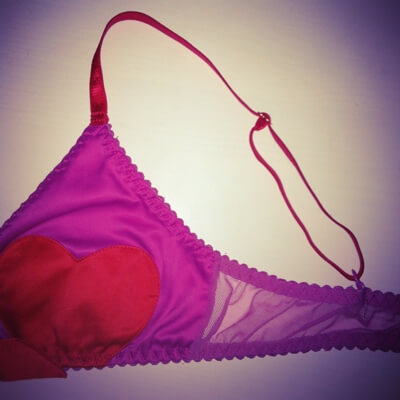
And there you have it – a brand new bra strap! Do exactly the same on the other side and your bra is ready to wear. Just be sure not to tumble-dry it!